Step-By-Step Instructions to Install and Use Trezor Bridge for Maximum Security
As cryptocurrency adoption accelerates, safeguarding digital assets has become a top priority for investors. One of the best ways to protect your holdings is through hardware wallets such as the Trezor Model One and Trezor Model T. However, to use these devices seamlessly on desktop environments, you need Trezor Bridge—a lightweight yet powerful communication service.
What Is Trezor Bridge?
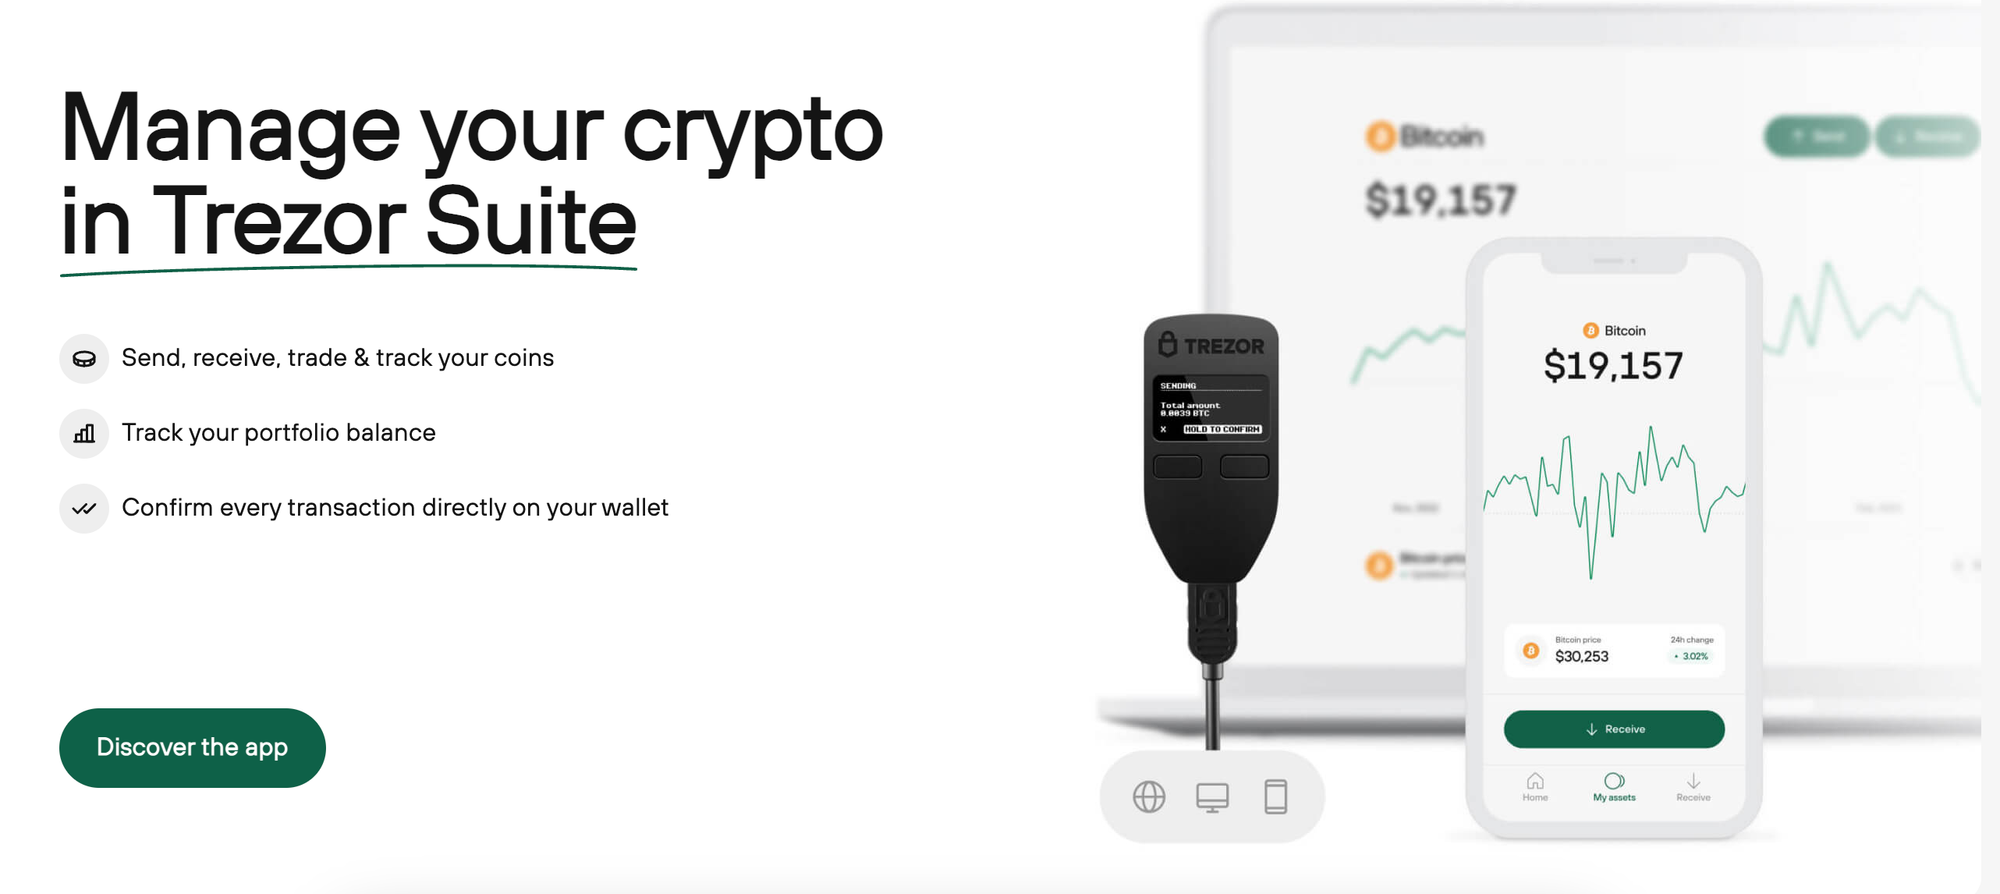
Trezor Bridge is a background application that facilitates secure interaction between your Trezor device and computer. It enables features like transaction signing, firmware updates, and crypto management through the Trezor Suite app. Without this software, your browser or desktop app would struggle to detect the wallet.
Why It Matters
Security is central to hardware wallet usage. Trezor Bridge ensures a fully isolated environment where communication cannot be intercepted by malicious scripts or browser vulnerabilities. It uses a locally encrypted communication layer that bypasses browser restrictions.
How to Install
- Download from the official Trezor site.
- Choose your OS version.
- Install and approve permissions.
- Reboot your system if necessary.
- Open Trezor Suite and connect your device.
Optimizing Trezor Bridge for Best Performance
- Keep the software updated regularly.
- Use original cables to avoid connectivity issues.
- Make sure no third-party USB tools conflict with Bridge.
- Ensure your system’s USB controllers are enabled.
Common Errors & How to Fix Them
Device Not Found
Try another port, restart Bridge, or reinstall.
Firmware Update Fails
Ensure proper power supply and use a direct connection.
Browser Not Detecting Wallet
Restart the browser and allow USB permissions.
Conclusion
Trezor Bridge is not merely software—it’s a security guarantee. By enabling smooth device communication, it ensures users maintain complete control over their crypto assets.