The Complete Beginner’s Guide to Using Trezor.io/Start (v24.12.3)

Getting started with hardware wallets can feel intimidating, especially if you’re new to crypto security. Trezor.io/start is the official onboarding portal designed to simplify the setup of your Trezor Model One or Trezor Model T. This 800-word guide walks you through every step—from unboxing to securing your coins—while maintaining EEAT standards for trust and accuracy.
What Is Trezor.io/Start and Why It Matters
Trezor.io/start is the official setup gateway created by SatoshiLabs. It ensures users download authentic firmware, install Trezor Suite, connect their device safely, and learn vital security practices.
With crypto scams rising, using official setup URLs is essential to protecting your assets.
Step 1: Unboxing and Authenticity Checks
Before connecting your Trezor, ensure the device is legitimate:
- The hologram seal should be intact.
- Packaging must show no signs of tampering.
- USB cable and accessories should match official listings.
Trezor never ships devices with a pre-set recovery seed—if yours includes one, it's fraudulent.
Step 2: Navigating to Trezor.io/Start
Open your browser and visit Trezor.io/start. Avoid clicking ads or unofficial links. Once the page loads, select your device model to begin guided setup instructions.
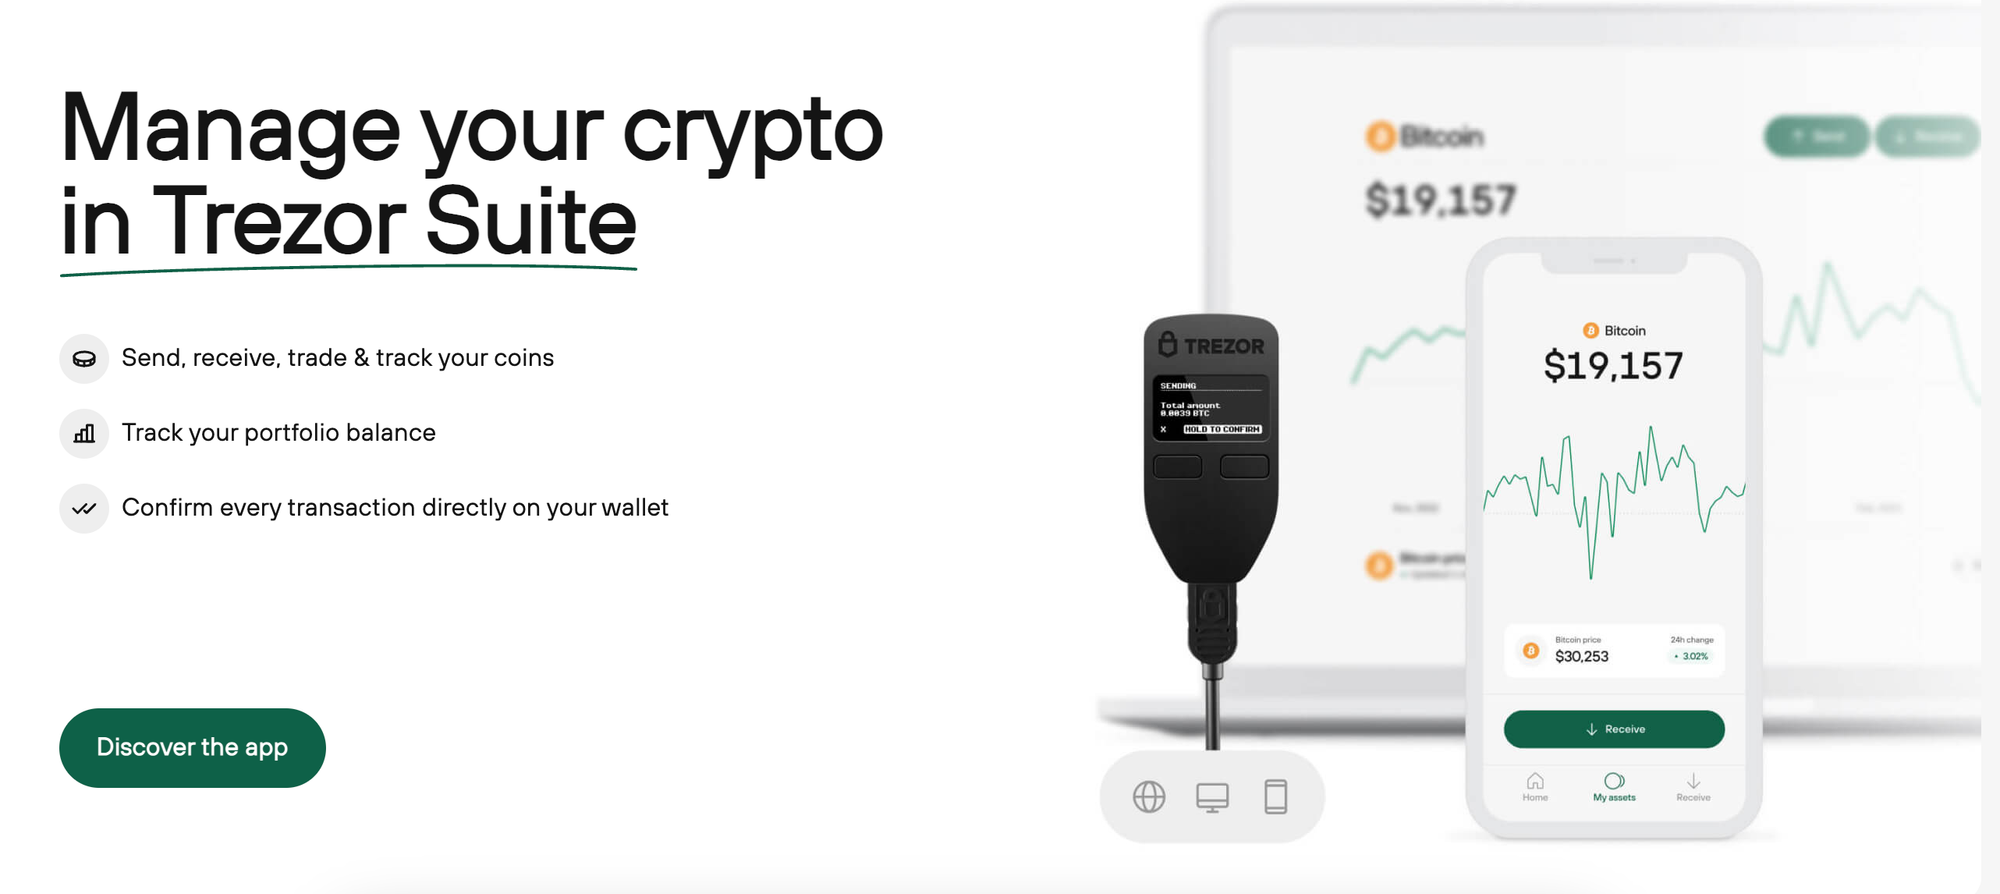
You’ll be prompted to download Trezor Suite, which is available for Windows, macOS, and Linux. The desktop app is the safest way to manage your wallet.
Step 3: Installing Trezor Suite
Download the installer, verify the file signature if possible, and launch the application. Trezor Suite automatically checks for the latest firmware and prompts you to update your device before use.
Step 4: Creating Your Trezor Wallet
Follow these steps in the Suite interface:
- Choose Create New Wallet
- Select between Standard wallet or Hidden wallet (for advanced privacy)
- Generate your recovery seed
- Write down the seed on paper only
Never store the seed online, photograph it, or share it with anyone.
Step 5: Backup & Recovery Process
Your 12–24-word seed is the master key to your crypto. Losing it may result in permanent loss of funds. Trezor.io/start explains backup options and best-practice storage methods.
For extra security, consider using a steel seed backup.
Step 6: Adding Crypto Accounts
Once your wallet is ready, Trezor Suite allows you to create accounts for:
- Bitcoin
- Ethereum
- USDT
- BNB
- Litecoin
- Hundreds of ERC-20 tokens
Each asset is stored offline on your hardware wallet while still allowing online interaction.
Step 7: Making Your First Transaction
To receive crypto:
- Open Trezor Suite
- Select your asset
- Click Receive
- Confirm the address on your device screen
To send crypto:
- Click Send
- Enter the recipient address
- Approve the transaction on your Trezor
Step 8: Advanced Tools
Trezor Suite includes powerful features like:
- Coin control
- Tor mode for privacy
- ERC-20 management
- Token-level sorting
- Hidden wallets via passphrase
Final Thoughts
Trezor.io/start is the safest place to begin your crypto security journey. For additional reading, visit the official Trezor knowledge base:
➡️ External Resource: https://suite.trezor.io