Trezor.io/Start Setup Guide With Advanced Privacy Tips (v24.12.3)
Start With the Right Tools
Visit Trezor.io/start → Download Trezor Suite → Connect device → Create wallet.
Privacy Tools In Trezor Suite
- Tor Integration: Hide your IP
- Coin Control: Manage UTXOs for cleaner privacy
- Hidden Wallets: Require a passphrase to unlock
- Multiple Accounts: Divide funds for privacy
Avoid Common Mistakes
- Never store your seed digitally
- Avoid entering your seed anywhere except your device
- Do not rely on cloud backups
Transaction Privacy Tips
- Rotate addresses
- Use coin selection
- Hide balances in public
- Use private mode in Trezor Suite
External reference:
➡️ https://trezor.io/securityThe Complete Beginner’s Guide to Using Trezor.io/Start for Safe Crypto Setup (800 Words)
When stepping into the world of cryptocurrency, choosing a reliable hardware wallet is the first and most important step toward financial security. Trezor.io/start is the official onboarding gateway for users who want to set up their Trezor device safely and properly. This guide walks you through every step of getting started, ensuring a smooth, secure, and stress-free crypto journey.
What Is Trezor.io/Start?
Trezor.io/start is the official setup portal created by SatoshiLabs to guide users in installing, configuring, and securing their Trezor hardware wallet. Whether you have a Trezor Model One or a Trezor Model T, this page provides verified tools such as Trezor Suite, firmware updates, and safety recommendations.
Why Beginners Should Always Start Here
One of the common mistakes new users make is downloading wallet software from unofficial sources. Trezor.io/start eliminates the risk of phishing by centralizing everything in one authenticated location—software downloads, firmware checks, and best-practice security guidelines.
Step-by-Step Trezor Setup
- Unbox Your Trezor Wallet
Inside the box, you’ll find the device, cable, recovery seed cards, and instructions. Check that the hologram seal is intact to ensure the device hasn’t been tampered with. - Visit Trezor.io/Start
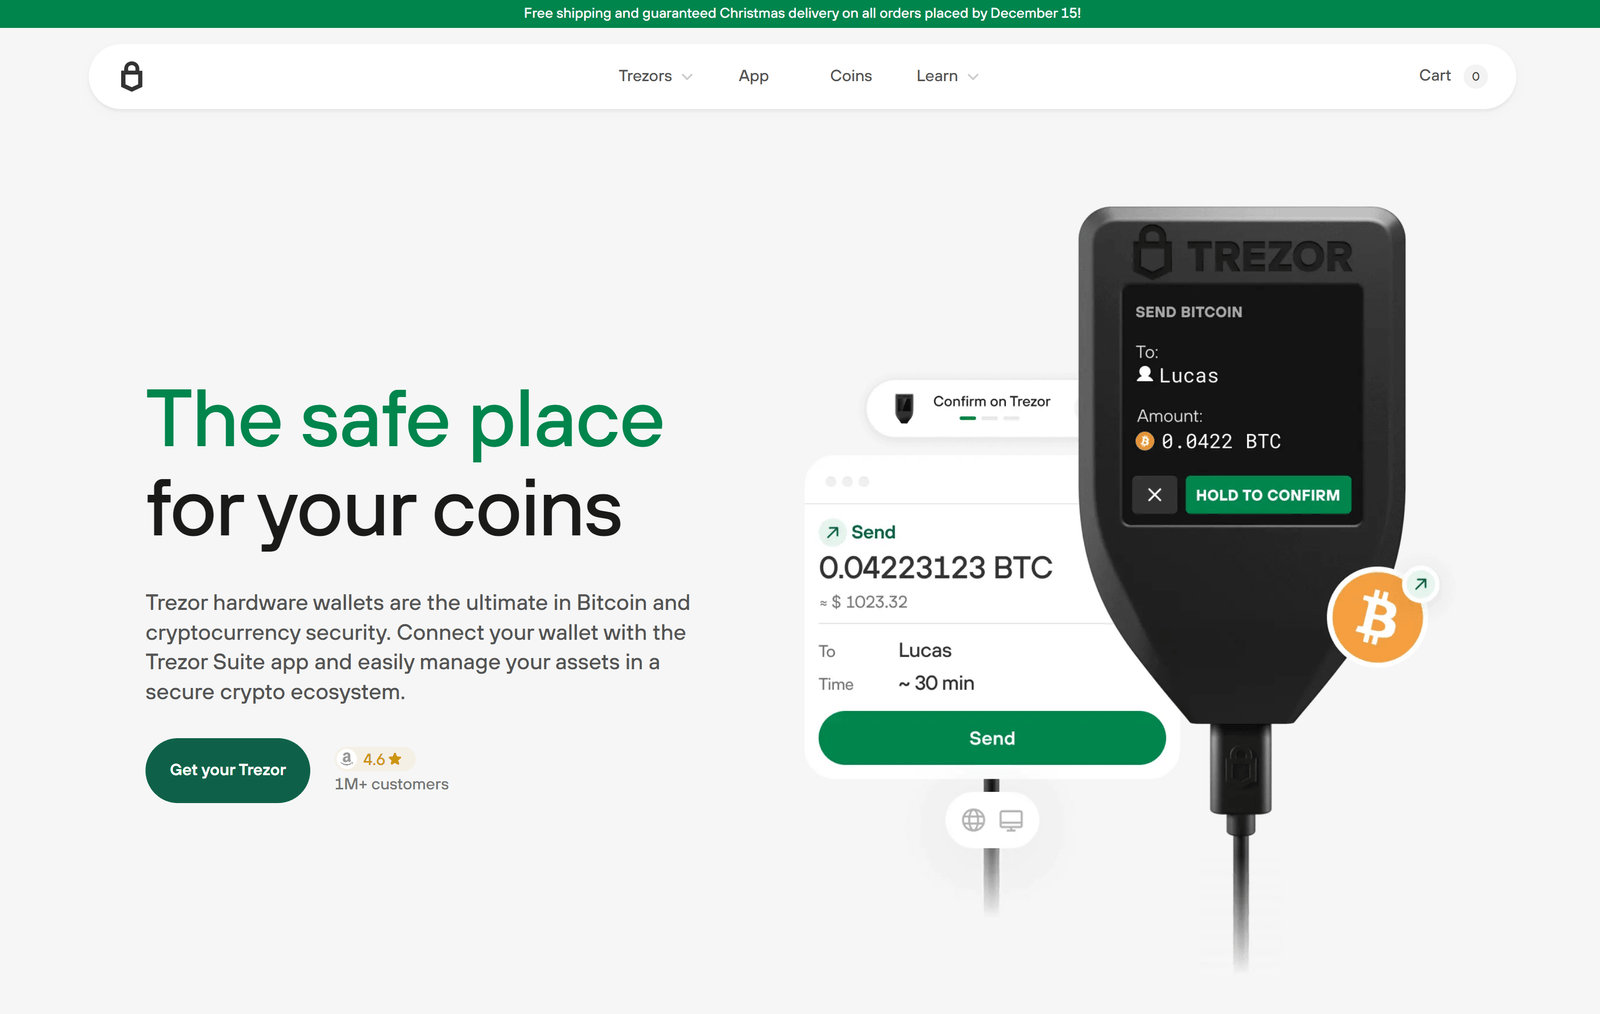
Open your browser and navigate to the official site. Avoid third-party links or ads that look suspicious. - Download Trezor Suite
Choose your operating system—Windows, macOS, or Linux—and install Trezor Suite. This software is the dashboard where you control your crypto assets. - Connect Your Device
Plug your Trezor into your computer and follow the on-screen prompts. - Install Firmware
New Trezor devices ship without firmware for security reasons. You’ll need to install the latest firmware version through Trezor Suite. - Create a New Wallet
Select “Create Wallet,” then proceed to generate your private recovery seed. - Write Down Your Recovery Seed
This is the most crucial security step. Write the 12/24-word phrase on the provided card and never store it online. - Set a PIN
This adds an extra layer of protection in case someone gains physical access to your device.
Using Trezor Suite for the First Time
Once the device is set up, you can start sending, receiving, and managing cryptocurrency through Trezor Suite. The interface is user-friendly, providing features like:
- Real-time portfolio tracking
- Coin management (BTC, ETH, LTC, and thousands more)
- Built-in exchange functionality
- Password manager
- Security alerts and firmware updates
Best Security Practices
To ensure your crypto remains safe:
- Never share your recovery seed with anyone
- Only update firmware through Trezor Suite
- Ensure your computer is free of malware
- Avoid entering seed phrases into websites or apps
Final Thoughts
Trezor.io/start is the safest and most trusted way to begin your hardware wallet journey. Its step-by-step setup ensures even beginners can protect their digital assets with confidence.