How to Use Exodus Web3 Wallet v24.12.3: A Complete Guide
As Web3 continues to evolve, self-custody wallets have become the gateway for crypto users to engage in decentralized finance, NFTs, and decentralized applications. Exodus Web3 Wallet v24.12.3 is an intuitive, non‑custodial wallet that empowers users to control their crypto and explore Web3 with safety and ease. In this guide, I’ll walk you through how to set up, secure, and use Exodus Web3 Wallet — covering all key features and best practices.
What Is Exodus Web3 Wallet v24.12.3?
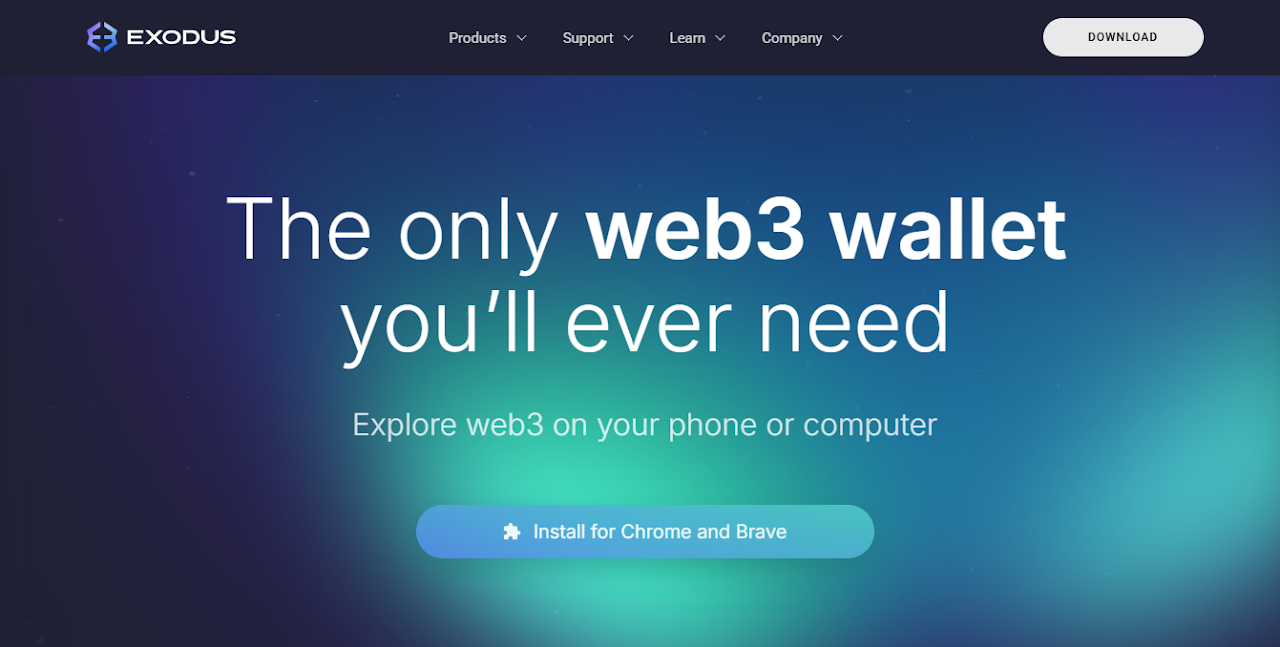
Exodus Web3 Wallet is a browser‑extension wallet (for Chrome or Brave) and mobile wallet that lets you interact directly with Web3 applications. It supports multiple blockchains, allowing you to send and receive crypto, swap tokens, stake, and connect to dApps securely. Exodus+2Exodus+2
It’s self‑custodial: your private keys live on your device, and only you control them. Exodus+1
1. Download and Install
- Visit the Official Source
Always download Exodus Web3 Wallet from the official Exodus site to avoid phishing risks. Exodus+2Exodus Web3 Wallet+2 - Install on Supported Browsers
As of this version, the Web3 Wallet extension is compatible with Chrome and Brave. Exodus
2. Create or Restore Your Wallet
- Create a New Wallet
After installing, choose “Create New Wallet.” Set a strong password (Exodus will show a strength meter). Exodus
You’ll be given a 12-word recovery phrase — this is your master key. Write it down on paper and store it securely offline. Exodus Web3 Wallet+1 - Restore an Existing Wallet
If you already have a 12-word phrase (from Exodus, MetaMask, or Phantom), you can restore it. Exodus Web3 Wallet+1
Be careful: only restore phrases from trusted sources, and make sure you’re using the genuine Exodus extension. Exodus
3. Secure Your Wallet
Security is critical in Web3. Exodus offers several built-in protection features:
- Local Encryption: Your private keys are encrypted on your device, not stored on central servers. Exodus Web3 Wallet
- Password & Biometrics: Use a strong password. On mobile, you can enable biometric authentication (Face ID, Touch ID). Exodus Web3 Wallet
- Backup Recovery Phrase: Your 12-word phrase is the only way to recover your wallet. Never share it, and don’t store it digitally in an unencrypted way. Exodus
4. Connect to Web3 & dApps
One of the biggest advantages of the Exodus Web3 Wallet is its deep integration with Web3 apps and DeFi protocols:
- Access dApps: Use the extension to connect your wallet to decentralized apps, DeFi platforms, NFT marketplaces, games, and more. Exodus
- Approve Smart Contracts: When connecting to apps, you may be asked to approve smart contract permissions. Be careful: only authorize apps you trust. Exodus
- Disconnect After Use: For security, always disconnect your wallet after you finish interacting with an app. Exodus
5. Perform Transactions
With Exodus Web3 Wallet v24.12.3, you can:
- Send and Receive Crypto: Easily send tokens to other addresses or receive them by sharing your wallet address. Exodus
- Swap Tokens: Use in-wallet swaps to exchange tokens without leaving the Exodus interface. Exodus Web3 Wallet
- Buy Crypto: Depending on your region and partners, you may be able to buy tokens directly within the wallet. Exodus
- Connect to DeFi: Stake tokens, lend, borrow, or provide liquidity — all from the wallet when using supported Web3 apps. Exodus Web3 Wallet
6. Manage NFTs
Exodus supports viewing and managing NFTs on supported networks. You can:
- View your NFT collection
- Send NFTs to other wallets
- Connect to NFT marketplaces via the wallet to buy or sell
This makes Exodus a one-stop platform for both DeFi and digital collectibles.
7. Stay Safe: Best Practices
To use Exodus Web3 Wallet safely, follow these security tips:
- Never share your 12-word recovery phrase or private keys, especially with any website or dApp. Exodus
- Do your own research before connecting to any Web3 app. Verify whether it's audited, legitimate, and trusted. Exodus
- Understand permission risks: Smart contract approvals can grant apps access to your funds — don’t blindly approve unlimited allowances. Exodus
- Revoke unused permissions: Use tools like Revoke.cash or Etherscan to revoke token allowances or smart contract permissions that you no longer trust. Exodus
- Disconnect after sessions: Always disconnect your wallet when done, to minimize exposure. Exodus
8. Recovering Your Wallet
If you lose access to your browser or device:
- Use your 12-word recovery phrase to restore your wallet on a new device or browser. Exodus
- Make sure you type each word correctly, in order, for a successful recovery. Exodus Web3 Wallet
9. Stay Updated
Exodus regularly releases updates and supports new chains. Keeping your wallet updated ensures you get security fixes, new features, and better compatibility. Exodus Web3 Wallet
You can also explore Exodus Academy for educational resources and deeper learning. Exodus
10. Where to Get Help
If you ever run into issues or have questions:
- Visit the Exodus Support Center for official guides, FAQs, and troubleshooting. Exodus
- Read their Security & Safety Guide for Web3-specific tips. Exodus
- Never share your recovery phrase with anyone — Exodus support will never ask for it. Reddit+1
Conclusion
Exodus Web3 Wallet v24.12.3 is a powerful, user‑friendly tool that combines strong security with full Web3 access. By installing from the official site, safeguarding your recovery phrase, and following best practices when connecting to dApps, you can confidently explore DeFi, NFTs, and other Web3 services.
Ready to get started? Download the wallet from the official Exodus Web3 site